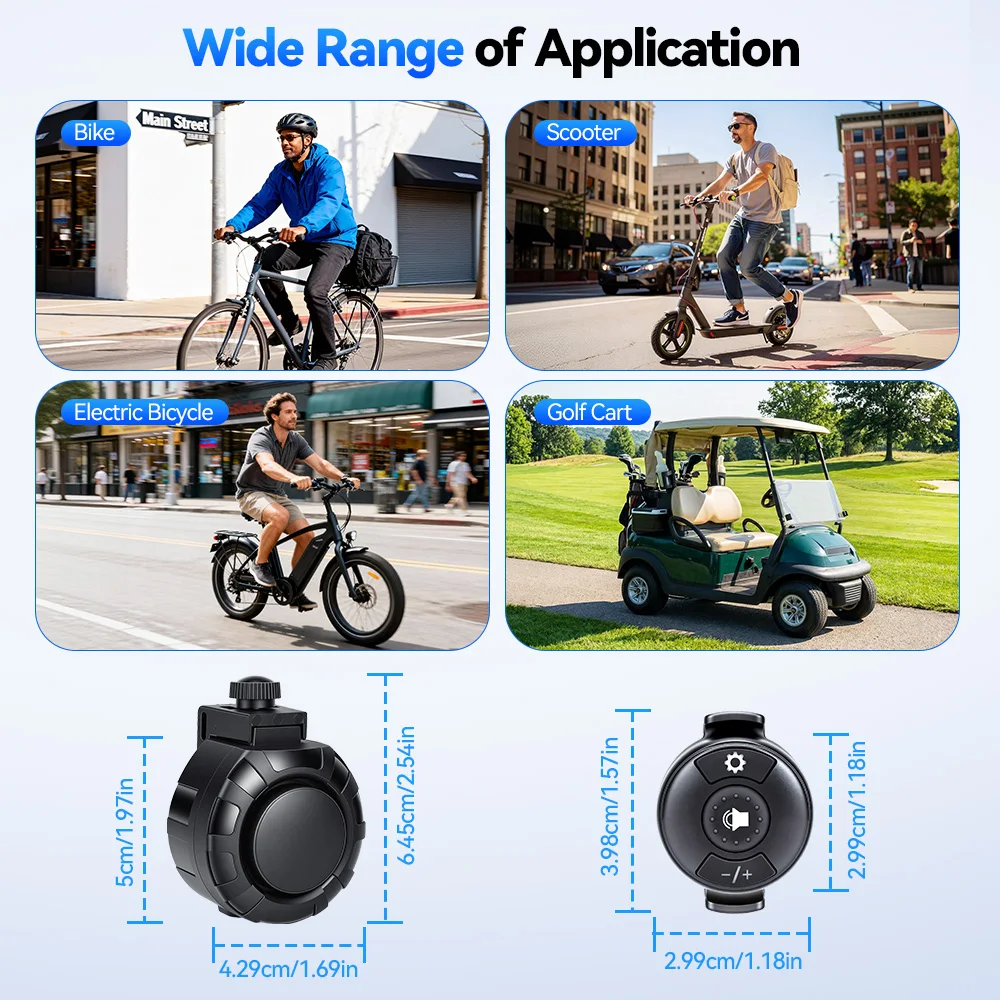
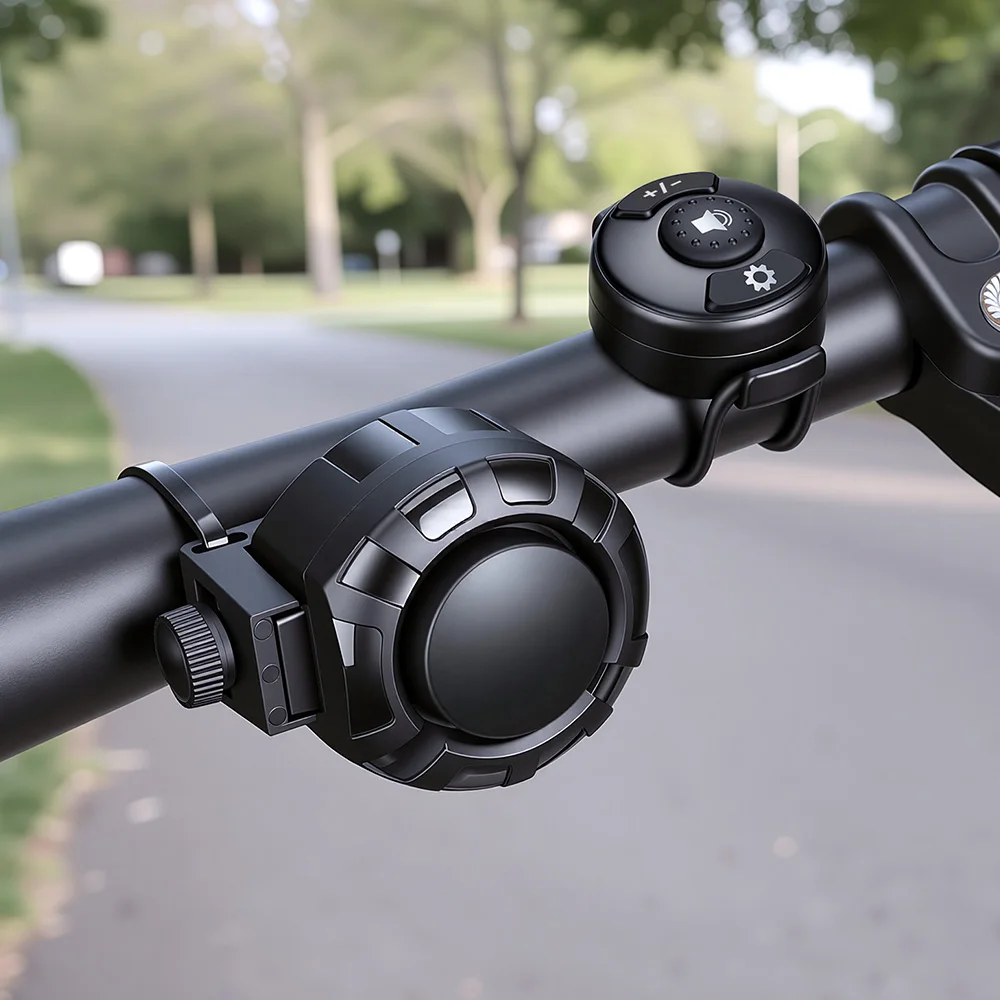
1. Material: ABS+PC, black;
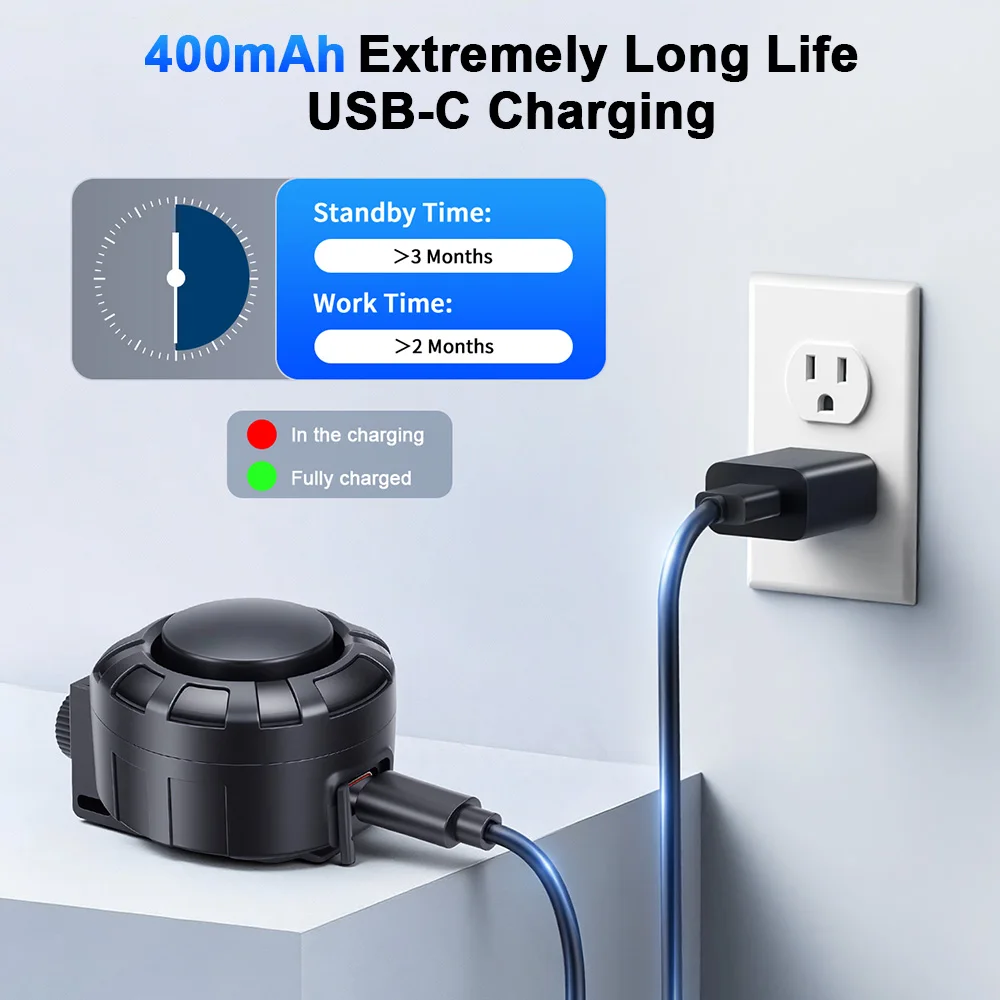
2. Battery specifications: Main unit: 3.7 V, 400 mAh; Remote control: CR2032 battery;
3. USB-C charging port, 5V/1A charging current; red light indicates charging, green light indicates full charge; features a low-battery alert; an alert sound plays when buttons are pressed;
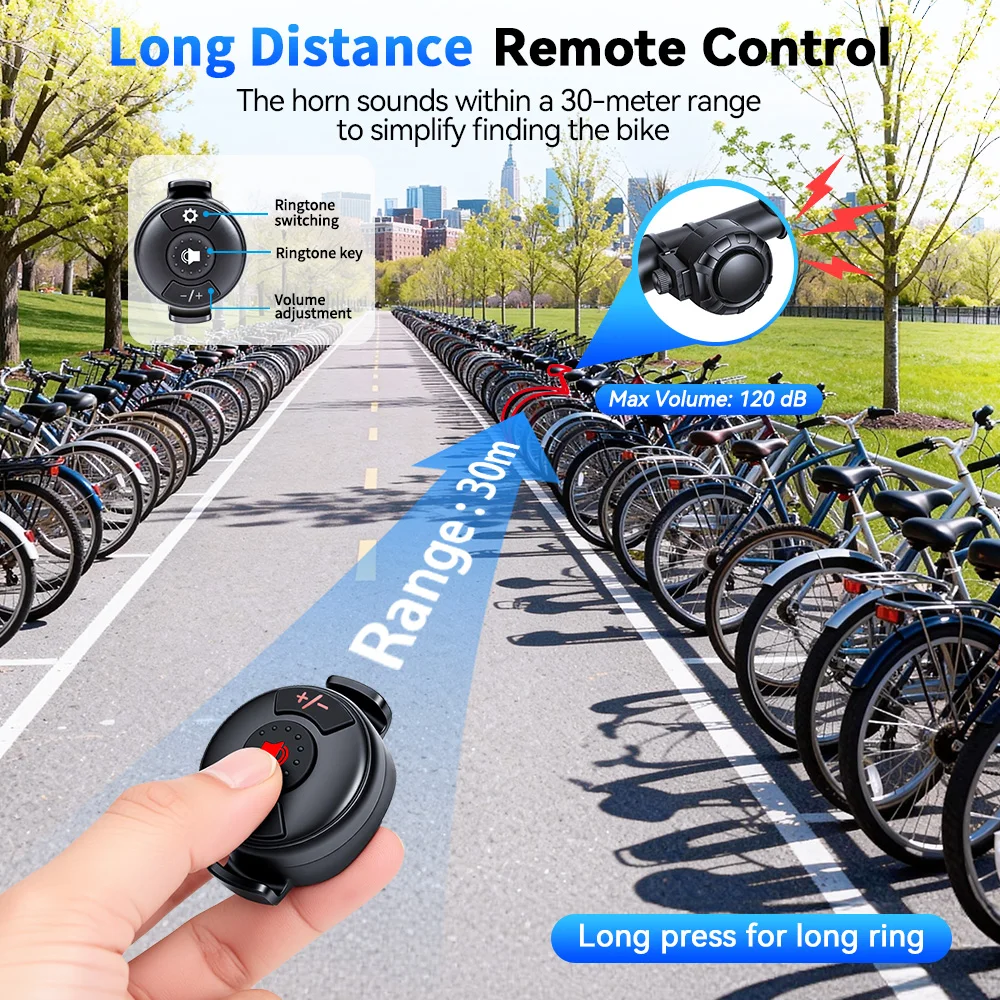
4. Remote control range: 30 m in open areas;
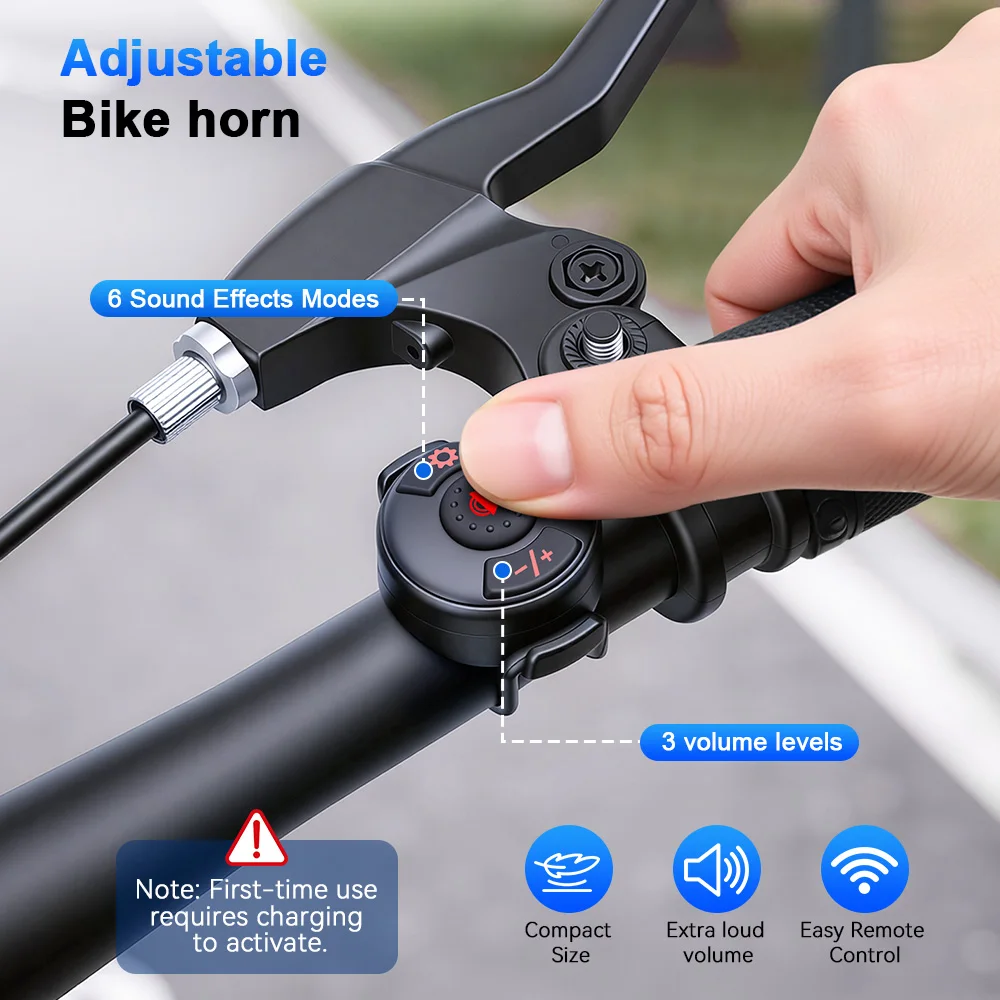
5. Three-level volume adjustment: Maximum 120 dB (Level 3) > 110 dB (Level 2) > 100 dB (Level 1) — Note: Due to variations in bell types, the voltage increase per level may differ slightly; values are for reference only;
6. Battery life: Approximately 6 months; alarm duration: 300 minutes;
7. IPX5 water resistance rating
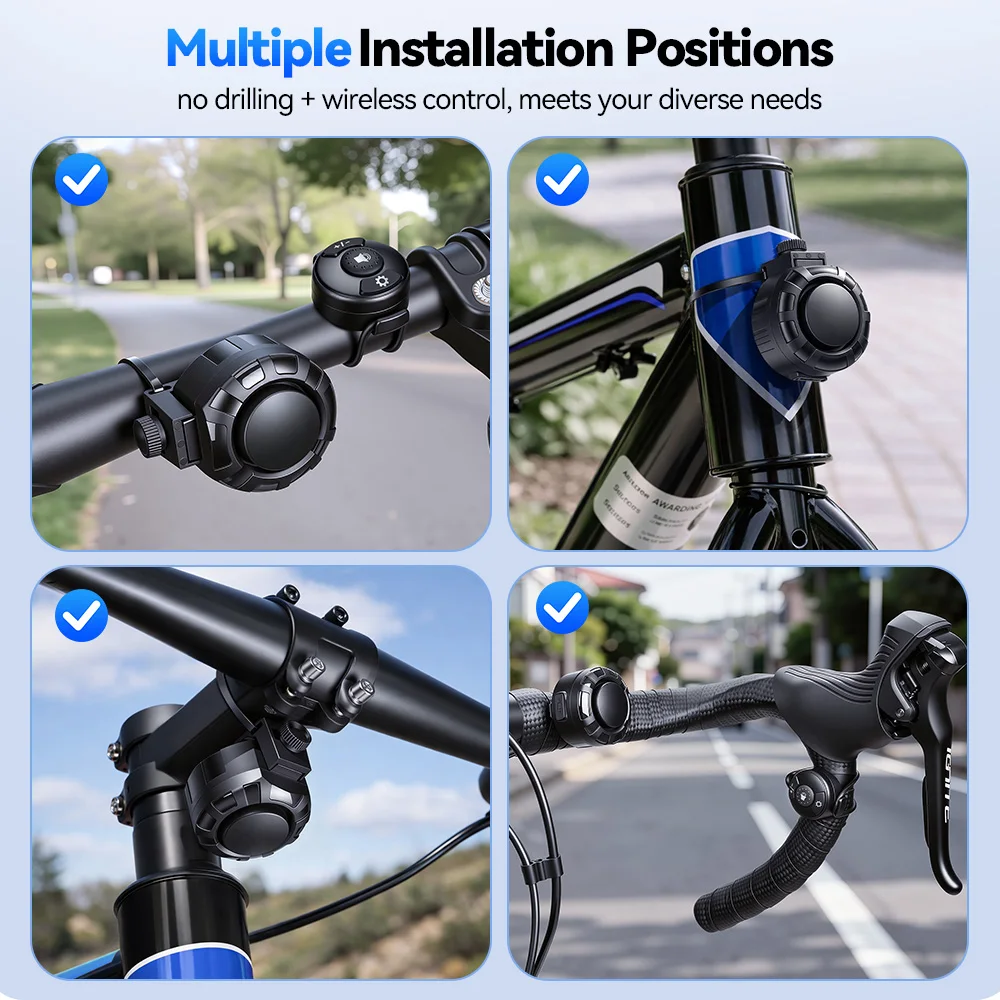
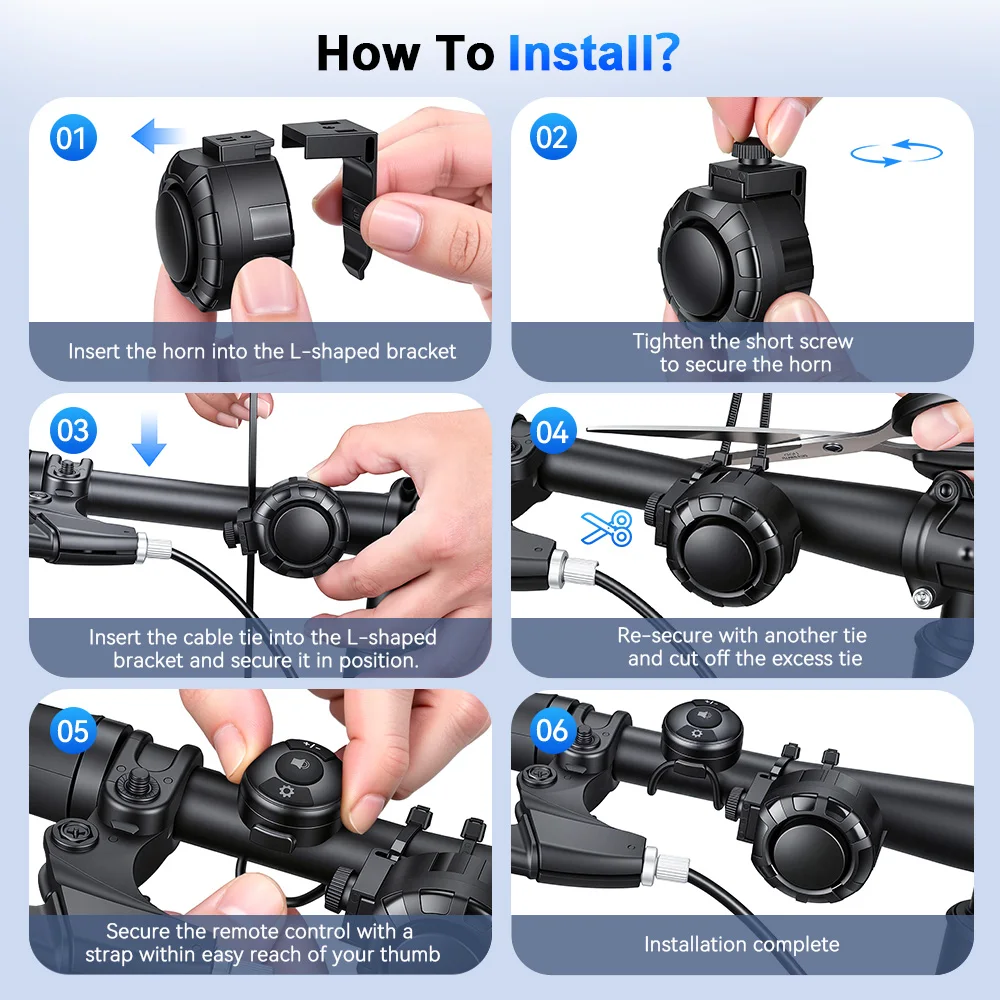
8. Included Accessories: Cable ties *2, small and large silicone rings *1 each, USB-C charging cable *1, anti-slip adhesive pad *1, double-sided foam tape *1; Mounting bracket *1, mounting screw *1;
9. Operating Instructions:
1) Power On: Charge to activate during first use;
2) Press the Settings button to adjust the ringtone; 6 melodies are available, played in a loop.
3) Press the [+-] buttons to adjust the volume; there are three levels: high, medium, and low; the factory default is maximum volume.
4) Press the remote control button to play the currently selected ringtone, making it easy to locate your vehicle.
5) Pairing: The main unit and remote control are paired by default and can be used immediately. If pairing is required in special circumstances, follow these steps:
a. Remote control pairing method: With the main unit unarmed, plug in the USB charger. Within 30 seconds of charging, press and hold the [+-] button on the remote control. After approximately 5 seconds, you will hear a “Beep” sound, indicating entry into learning mode. Press any button; you will hear two “Beep...Beep” sounds, and the new remote control is now ready for use. Press the remote control’s [+-] button again to exit programming mode.
b. Programming using an already-paired remote: With the main unit disarmed, press and hold the [+-] button on the remote you wish to use for programming. After approximately 5 seconds, you will hear a “Beep” sound, indicating entry into programming mode. At this point, press any button on the new remote control. You will hear two beeps (“Bi...Bi”), and the new remote control is now ready for use. Press the “[+-]” button on the old remote control to exit programming mode.
c. Note: The main unit can program a maximum of 4 remote controls. If this limit is exceeded, the code for the first remote control will be overwritten.
d. Code deletion procedure: With the main unit disarmed, connect the USB charger. Within 30 seconds of charging, press and hold the remote control’s “[+-]” button. After approximately 5 seconds, a single “beep” will sound, indicating entry into code learning mode. Press the Settings button to emit a long beep; this will clear all remote control codes stored in the main unit.